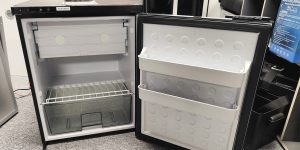
Defrosting a mini fridge is an essential maintenance task that should not be overlooked. However, the buildup of frost and ice on the interior walls of the fridge can negatively impact its performance and efficiency, making it consume more energy to maintain the desired temperature. This can lead to higher electricity bills and shorten the appliance’s lifespan.
When frost accumulates in the freezer compartment, it can also affect the fridge’s cooling ability. The frost acts as an insulator, preventing the cool air from circulating properly, which can cause food to spoil and increase the risk of bacterial growth.
But even though this activity seems pretty easy, not everyone can perform this procedure correctly and safely. This is why more and more people often wonder how to defrost a mini fridge. You can find thawing compact fridges on sale now. However, manual refrigerator defrosting will always be relevant, and I’ll tell you about several of the most popular methods for defrosting a mini fridge.
Signs that your mini fridge needs defrosting
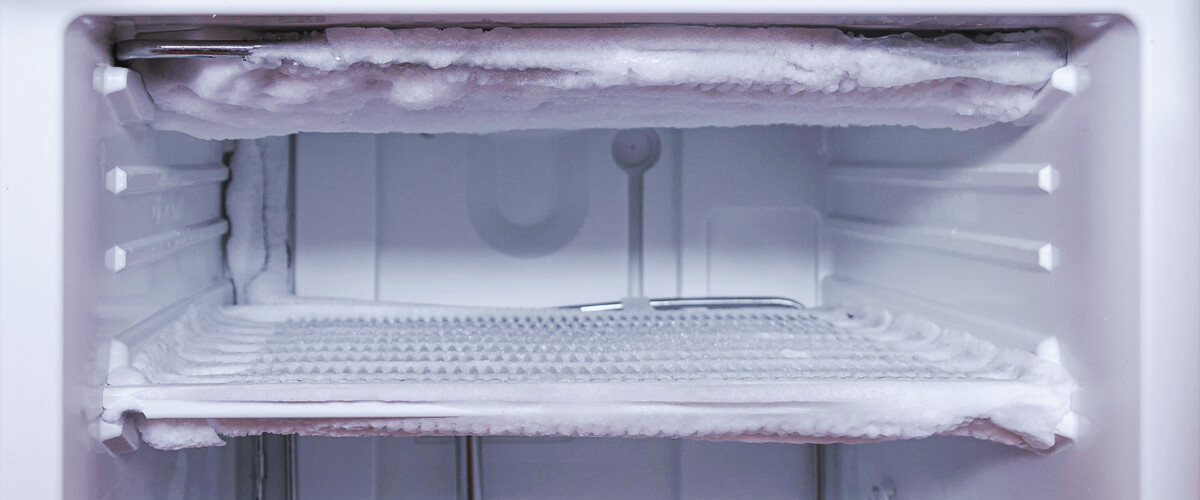
Actually, there are several signs that you should defrost your fridge, such as:
- Ice formation: If you notice an excessive ice buildup inside your mini fridge, it’s a clear indication that it’s time to defrost. The ice can hinder proper airflow and cause the cooling system to work harder, reducing its efficiency.
- Reduced cooling efficiency: If you notice that your mini fridge isn’t keeping your food and drinks as cold as it used to, it could be a sign of ice buildup. When the cooling system is obstructed, it will struggle to maintain the desired temperature.
- Strange noises: If your mini fridge is making unusual noises, it could be a sign that the cooling system is struggling to maintain its efficiency due to ice buildup.
If you notice any of these signs, it’s time to defrost your mini fridge.
Necessary tools and materials
Before we consider manual defrost techniques, prepare the necessary tools and materials, such as:
- towels;
- plastic spatula;
- large bowl;
- hair dryer;
- scrubbing brush;
- cleaning solution.
With these necessary tools and materials on hand, you’ll be able to defrost your fridge quickly and easily.
Step-by-step defrosting process
I have prepared the step-by-step instructions. Follow my steps and be careful.
| Steps | Action | Description |
|---|---|---|
| 1. | Unplug and empty your mini fridge | These are the main preparatory steps. When emptying the fridge, be sure to dispose of any expired or spoiled food items. It will prevent any unpleasant odors from developing during the defrosting process. |
| 2. | Removing shelves and drawers | This approach will allow for better airflow and make it easier to clean the inside of the fridge. Plus, it will prevent any damage to the shelves or drawers during the defrosting process. |
| 3. | Let it thaw naturally, or use a hair dryer | Allowing it to defrost on its own is the safer and more energy-efficient option, but it can take several hours or even overnight. If you’re in a hurry, using a hair dryer in the low heat setting can help speed things up. |
| 4. | Scrape off the ice with a plastic spatula | Carefully scrape off any ice that may have formed on the walls of the fridge using a plastic spatula. Avoid using any sharp or metallic objects, as these could damage the interior of the fridge. |
| 5. | Clean the inside with a mild cleaning solution | Use a soft cloth or sponge to apply the cleaning solution, making sure to reach all the nooks and crannies inside the fridge. Avoid using harsh chemicals or abrasive materials that could damage the interior of the fridge. |
| 6. | Dry your mini fridge thoroughly | Dry it thoroughly before reassembling it and reconnecting it to the power source. Use a clean, dry towel to wipe down all the surfaces inside the fridge, making sure to remove any excess moisture. |
| 7. | Assemble and reconnect the refrigerator | Carefully replace the shelves and drawers in their correct positions and plug the fridge back in. Allow the fridge to cool down to the desired temperature before adding any food items back into it. |
Safety precautions
I’ve prepared several safety precautions that you should follow while defrosting the fridge, such as:
- Unplug the refrigerator: Before you begin defrosting the fridge, make sure that it is unplugged from the power source. This will ensure your safety and prevent any electrical accidents.
- Use non-metallic deicing tools: When removing ice from the refrigerator, make sure that you use non-metallic deicing tools such as plastic spatulas or wooden spoons. Metal tools can damage the fridge’s interior and cause leaks or other problems.
- Avoid using sharp objects: Do not use sharp objects such as knives or scissors to remove ice from the fridge. This can damage the fridge’s interior, puncture the coolant lines, and cause a refrigerant leak.
In conclusion, following these safety precautions during the defrosting process is crucial to ensure your safety, prevent damage to the refrigerator, and ensure optimal appliance performance.
Preventing ice buildup
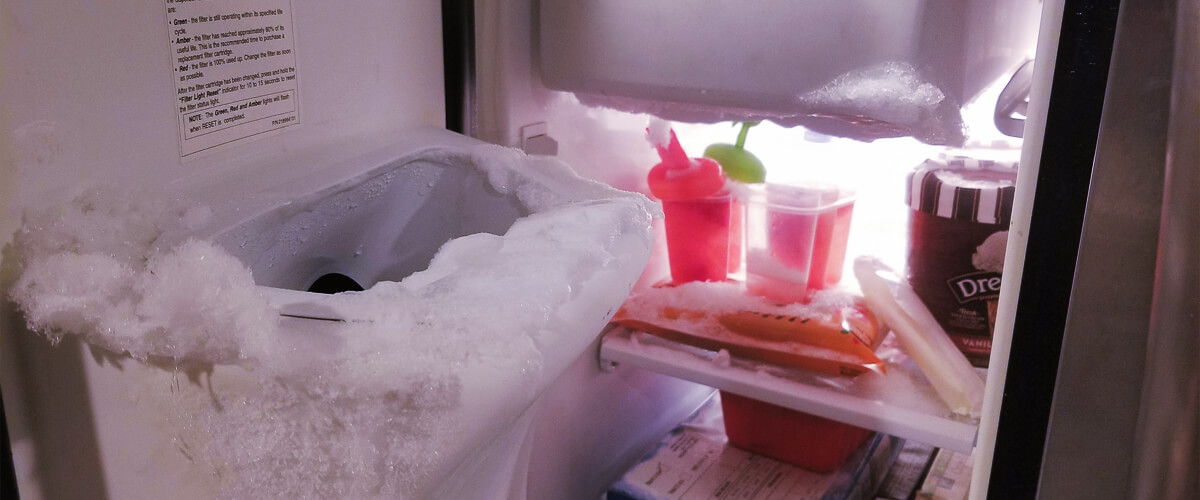
Preventing ice buildup when defrosting the fridge is crucial to ensure proper functioning and longevity. Here are my tips to reduce frost buildup in your refrigerator:
- Maintain a constant temperature;
- Keep the door closed as much as possible;
- Clean the refrigerator regularly;
- Defrost the fridge regularly;
- Use airtight containers.
By following these simple yet effective tips, you can prevent ice buildup when defrosting the fridge and ensure it functions efficiently for a long time.
The benefits of defrosting a mini fridge
At the end of my review, I want to revisit the benefits of defrosting a mini fridge and recommend when and how often to perform this task.
- Improvement in energy efficiency. When the frost builds up on the evaporator coils, it creates a barrier between the refrigerant and the air inside the fridge. This can cause the compressor to work harder to maintain the desired temperature, leading to increased energy consumption and higher electricity bills.
- Prolonging the life of the appliance. The appearance of excess frost can also cause damage to the evaporator coils and other components of the fridge. This damage can lead to costly repairs or even replacing the entire appliance.
- Maintaining optimal cooling performance. Building up frost can restrict airflow and prevent the fridge from cooling properly. This can lead to food spoilage and a decrease in the quality of your food and drinks.
The frequency of defrosting will depend on several factors, such as usage and climate. In general, I recommend you defrost your mini fridge every three to six months. However, if you notice a significant frost buildup, it may be necessary to defrost more frequently.
FAQ
How long does it take to defrost a mini fridge?
The time it takes to defrost a mini fridge depends on factors such as the size of the appliance and the severity of the frost buildup. Generally, it can take anywhere from a few hours to a full day to defrost a mini fridge, with the speed of the process varying depending on the defrosting method used.
Can I use a hair dryer to defrost my mini fridge safely?
Yes, a hair dryer can be safely used to defrost a mini fridge. However, it’s important to use it on a low heat setting and keep it at a safe distance from the interior walls of the fridge to avoid damaging them.
How can I prevent excessive ice buildup in my mini fridge?
To prevent excessive ice buildup in your mini fridge, make sure to defrost it regularly and remove any excess water. Additionally, check that the door seal is intact and free of any debris to ensure a proper seal and prevent excess moisture from entering the fridge.
